1. Flow tests
For each flow, we can add their own tests to test the stability of individual flows by testing calculators and executor js.
How to open Tests?
On the flow builder page. We have a dropdown with tools, and we need to select 'Flow test' from the dropdown list.
When we first open Flow tests, it will show an empty page like this:
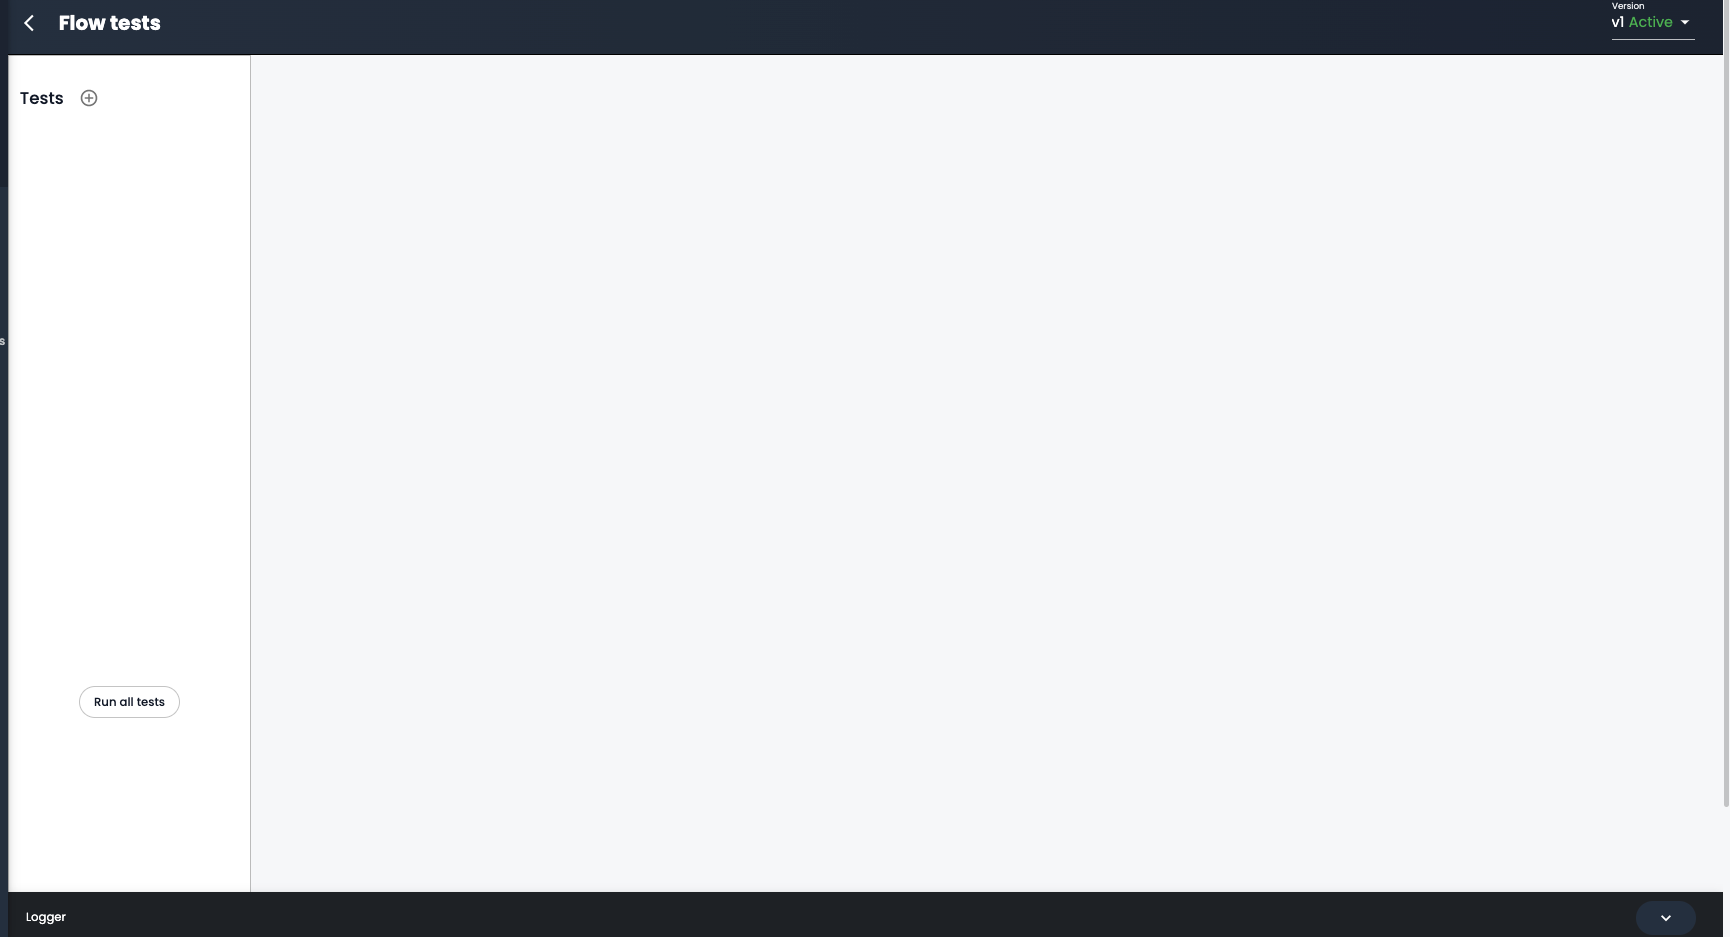
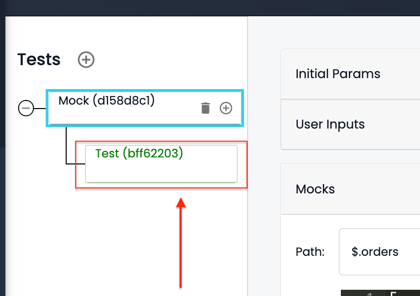
How to add flow tests? First, we need to click on a plus button (+) next to Tests.

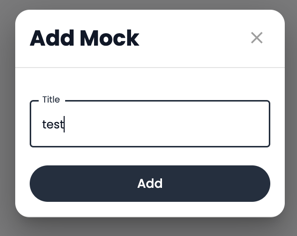
Then the pop-up 'Add Mock' will be shown, we need to write the Title of the test and click Add button.
We use end-to-end testing of flows to make sure execution works for all the various edge cases.
When we clone a flow version, all tests are copied over as well. If tests are failed then the flow versions cannot be cloned.
It is the page we will get after creating the first test.

Fields:
- Initial params
- User inputs
- Mocks
Initial params
In Initial params, we need to provide the required params when the flow is starting. We use here key-value structure.
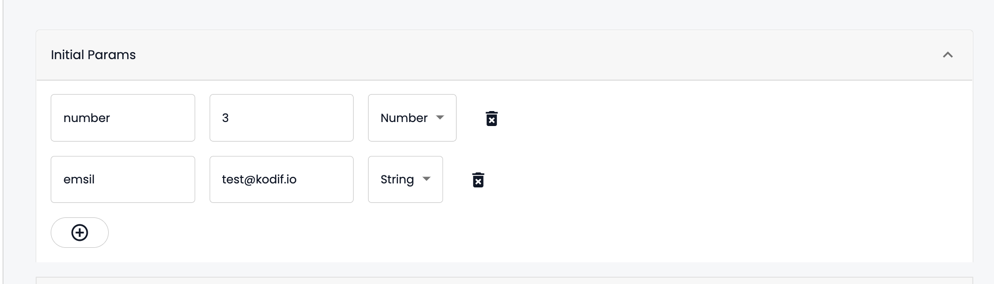
When we are adding params in Initial params, we can also choose data types of the value:
- String
- Number
- Boolean
And we can also delete the parameters.
User inputs
It's almost the same here, but for User inputs, we need to provide keys and values from the 'User inputs' node itself.
Every parameter is from the User input node.

Mocks
In Mocks, we need to add a path from the flow requests and the Data.
We usually send requests in Decision and Action nodes, and we need to provide the request's path here.
For Data, we need to add the response from those requests.
For example, let's say we have a request to get all orders, and its path is '$.orders'. We need to write this in the Path field, and for Data we need to provide its response.
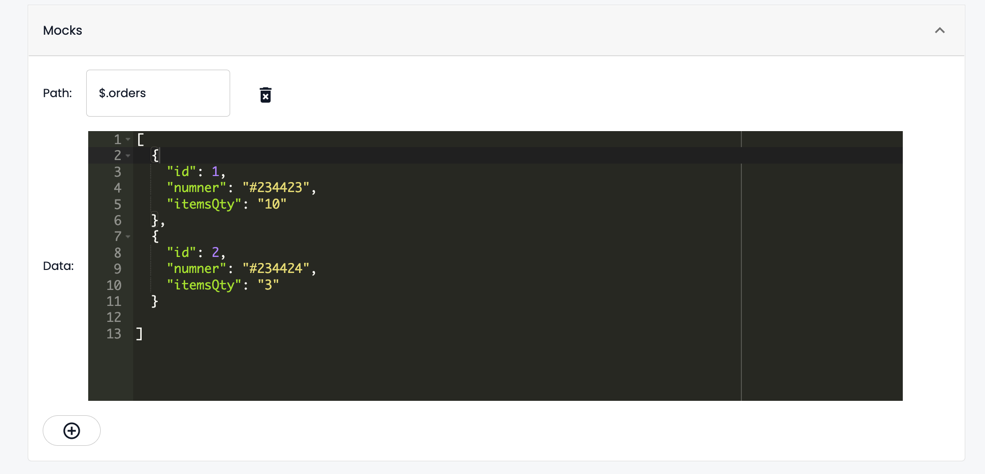
We also have an option to delete Mocks.
Assert
For each mock test, we have its own Assert. A mock can only have one assert.
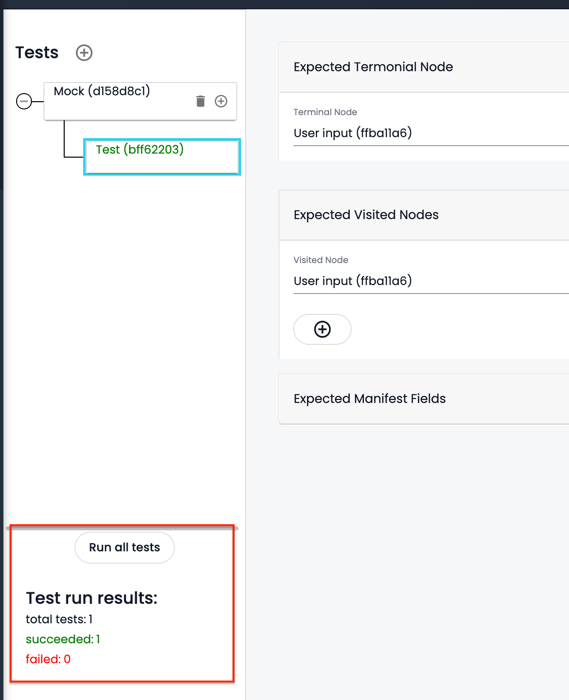
If we click on a Test assert, we will see these fields:
- Expected Terminal Node
- Expected Visited Nodes
- Expected Manifest Fields
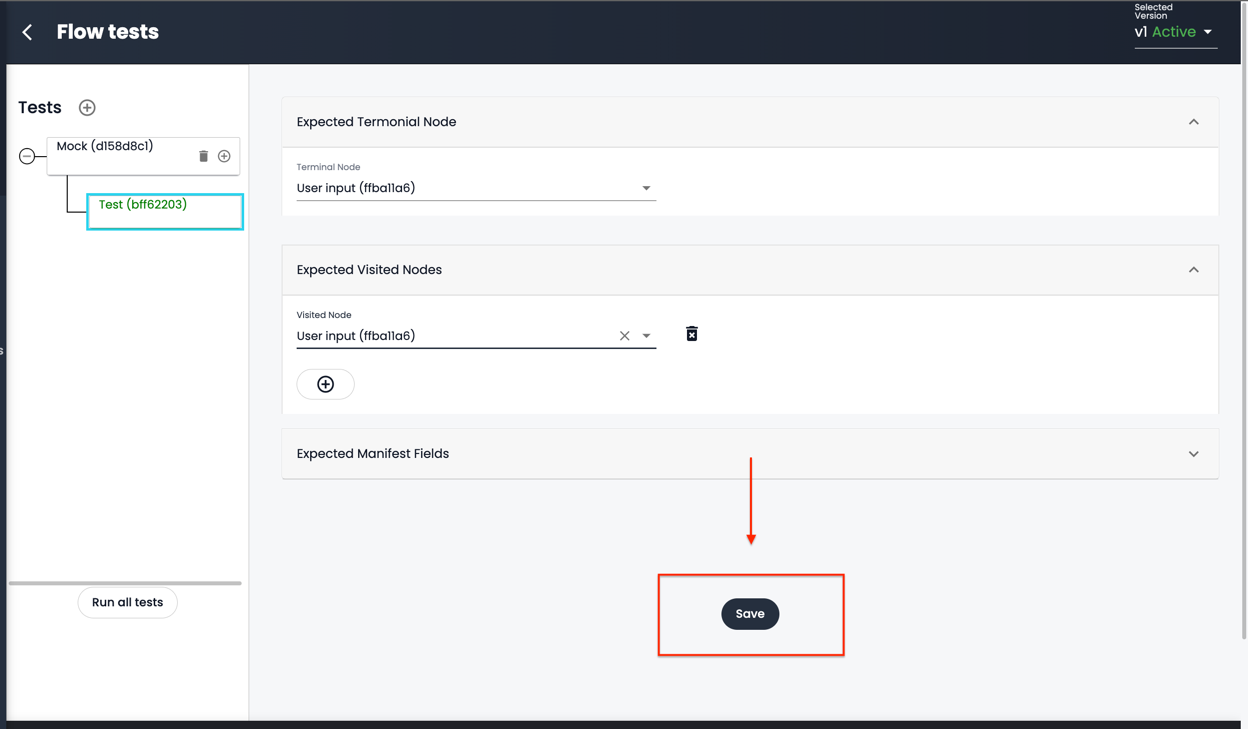
Expected Terminal Node
In Expected Terminal Node, we need to select the terminal node. Basically, it's the last node where tests should stop.

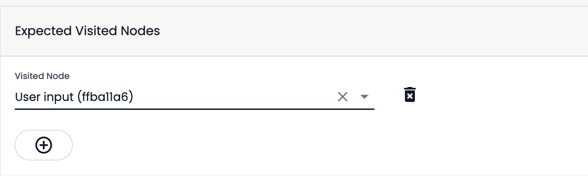
Expected Visited Nodes
In the Expected Visited Nodes we can add or delete nodes where tests should pass.
Expected Manifest Fields
After adding all data, we need to click the Save button.
Note: make sure that you click the Save button before going to other test pages. Otherwise, it will not save the data.
After saving the data, you can click on "Run all tests". You will see the result of your tests if they succeeded or failed.