How to add/edit chatbot bubbles
Let's add a "Was this helpful?" question and bubbles (quick replies) with Yes/No responses into our chatbot.
- Let's add "Decision" and "User Input" nodes after the "Send answer to chat" node.

- Change node names.
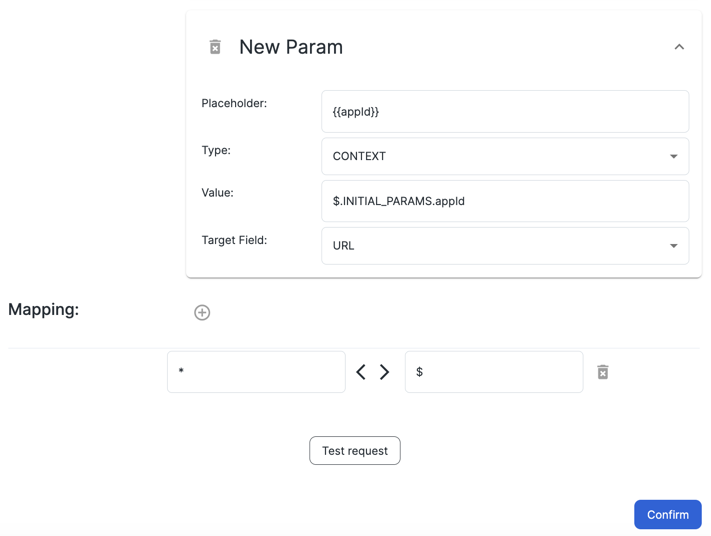
- For the "ask a question and show yes\no bubbles" decision node add the first request to ask the "Was this helpful?" question.
You can find further information about requests in the documentation: Learn more about requests


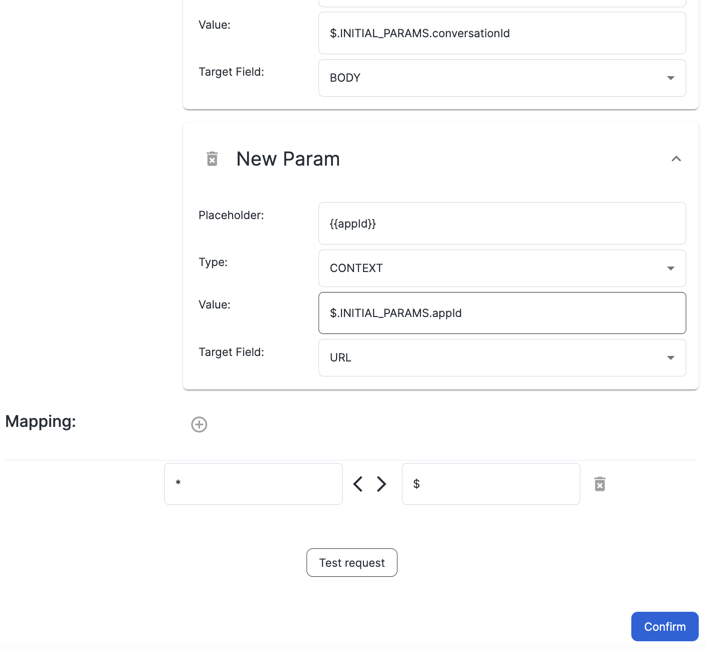
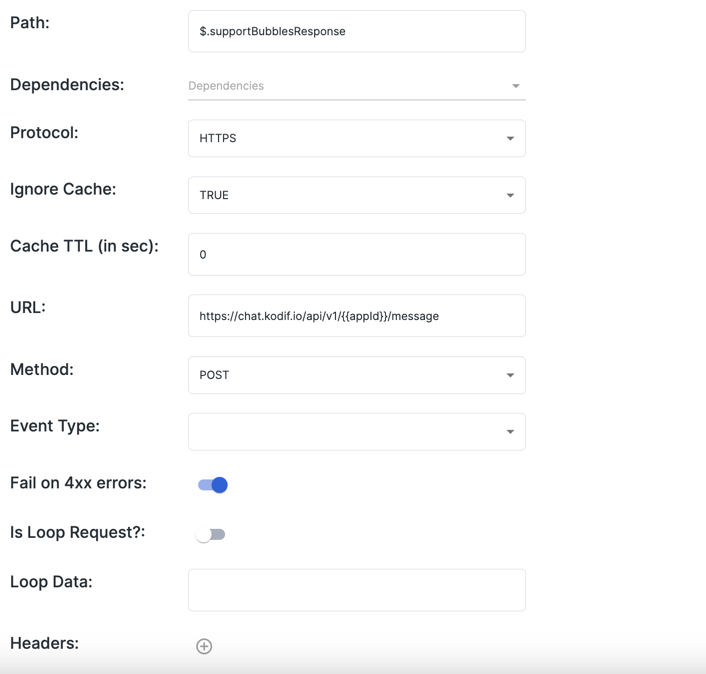
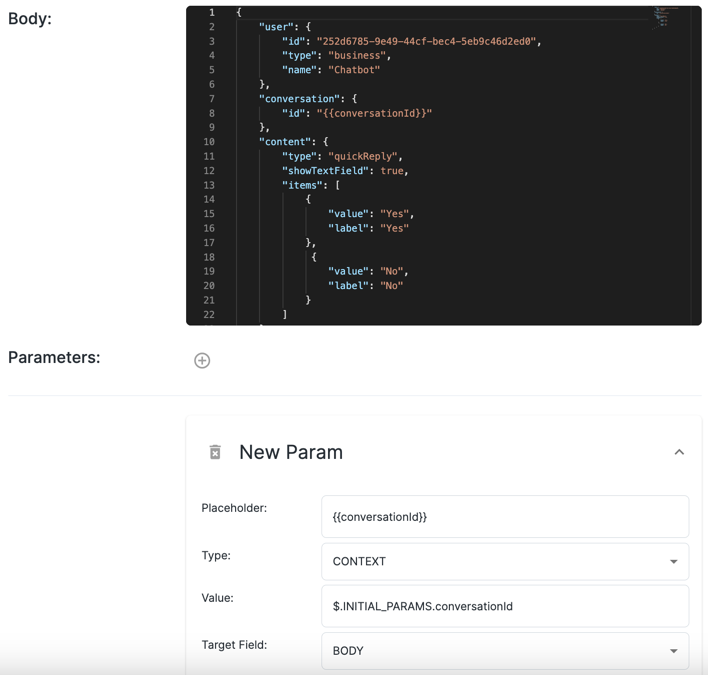
- Add a second request that will show Yes/No bubbles (quick replies) in the chatbot. You can find further information about requests in the documentation: Learn more about requests
Note
Don't forget to click "Confirm" button and "Save node" button to save the changes.
- For the "User Answer" node we can copy and paste the JSON that we already have in the existing user input node "User input (ML Answer NOT Given)". You can find further information about user input nodes in the documentation: Learn more about user input node
After pasting the JSON into our "User Answer" node we need to change the variables because they all should be unique. You can find further information about user input nodes in the documentation: Learn more about user input node
All done! Now we can see the result in the chatbot.
You might get no response or "No matching articles found. Missing company?" response from the chatbot because there were no data added no the chatbot source. Learn how to add data source to the chatbot.